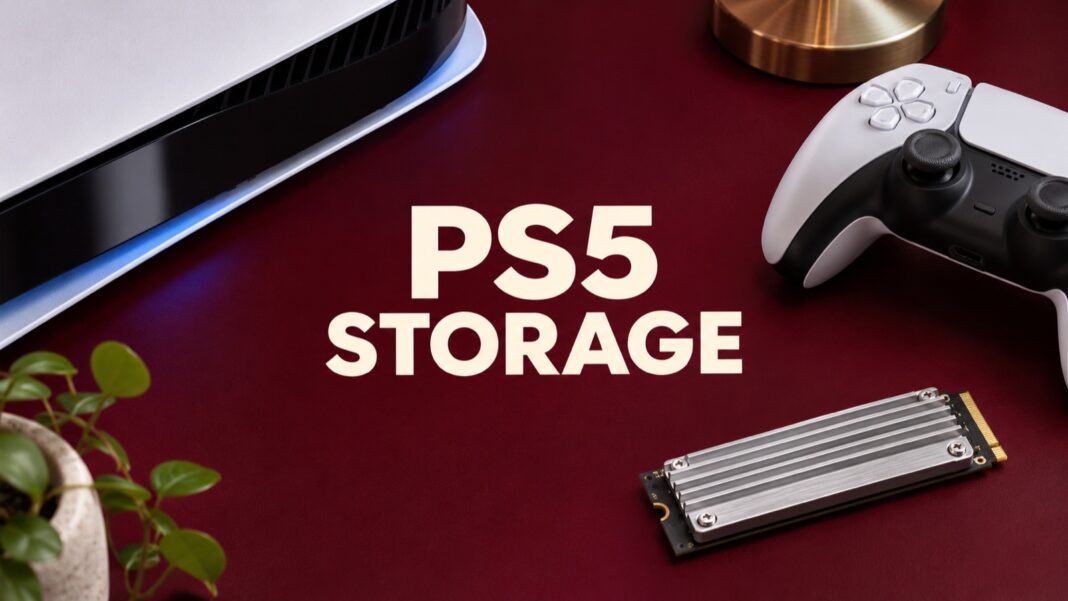

A PS5 storage upgrade starts with a choice: do you want more games ready to play, or somewhere to keep games you can move back later? Those goals lead to different purchases. A compatible internal M.2 SSD and a USB extended-storage drive do not perform the same role, even when both are sold as extra console storage.
Before ordering a drive, review the installed library, identify the console model and decide which games need immediate access. This guide explains that decision, the key compatibility checks and how to plan the upgrade without confusing game installations with saved progress. It does not claim that a faster advertised SSD automatically increases game performance.
PS5 storage upgrade: M.2 SSD or USB drive?
PlayStation’s M.2 installation guide says a supported internal expansion drive can store and launch PS5 and PS4 games. Its requirements include Gen4x4-supported M.2 NVMe storage, effective heat dissipation and a recommended sequential read speed of at least 5,500MB/s. M.2 SATA drives are not supported. Check the complete requirements and dimensions before selecting a product.
A USB drive serves a different purpose. Sony’s USB extended-storage guide explains that PS5 games cannot run directly from USB extended storage; move them back to supported playable storage first. PS4 games can run from USB extended storage. That distinction should determine your shortlist before price or capacity.
If you rotate between a few PS5 games, keeping inactive installations on USB may fit your routine. If you want a larger PS5 library ready to launch without moving games around, investigate supported M.2 expansion. Neither approach is automatically better: the right one depends on how often you change games and how much transfer time you tolerate.
Audit the library before buying capacity
Open the console’s storage settings and review what is using space. Separate games, media captures and saved data. Sony’s storage-management instructions explain how to check and manage these categories. Removing an installation and deleting progress are different actions, so read each confirmation carefully.
Make three lists: games you play weekly, games you return to occasionally and games you are keeping only because downloading them again would be inconvenient. Add the space needed for planned installations and updates. Use the sizes displayed by the console or the official game listing rather than relying on an old social-media screenshot.
For example, a household sharing a console may have a much larger active library than one person playing a single long game. Count everybody’s regular use before removing anything. A storage purchase that avoids repeated negotiations over what to uninstall may be more useful than chasing a specification that does not change the household’s routine.
Match the drive and cooling assembly to the console
Check the console model and use the corresponding official installation instructions. Sony separates procedures for different model groups, so do not follow the first removal video you find without checking which console it shows. Put the model reference and the correct support page together before you start.
Evaluate the complete SSD and cooling assembly. A drive’s bare circuit-board dimensions do not describe the space occupied by an attached heatsink. Sony publishes limits for the overall size and recommends contacting the vendor if fit is uncertain. Read the selected drive’s documentation and its cooling instructions alongside those limits.
Save the exact model code, capacity and whether the listing includes the heatsink. Stores often place several variants on one product page. Check the option actually selected in the basket, rather than assuming the main photograph represents it. If a required part is separate, include it in both the cost and the fit assessment.
Understand what speed claims can and cannot tell you
A maximum sequential read figure is one specification, not a promise about every game. Sony explicitly cautions that an expansion drive may not provide the same performance as the console’s internal storage even when its advertised read speed exceeds the recommendation. Buy against compatibility and the required storage role, not a guaranteed frame-rate improvement.
If you are comparing a PC-oriented Gen 5 product, keep the host interface in view. A product can advertise capabilities for a newer PC connection without the console making use of that maximum. Our Samsung 990 EVO Plus compatibility guide explains why model names and host connections deserve separate checks. It is not a blanket PS5 endorsement of that drive.
Also separate capacity from speed. A larger drive can change how many games remain installed at once. That is a concrete benefit you can estimate from your own library. It does not establish that every loading screen will become shorter, and a capacity upgrade does not fix a slow internet download by itself.
Protect existing data before formatting
Do not repurpose a drive until you know what it contains and have copied anything valuable to another verified location. Sony warns that formatting a newly installed M.2 drive erases existing data on that drive. USB formatting also erases its contents. Read the onscreen target and confirmation rather than assuming the process affects an empty device.
Review the console’s official saved-data backup options separately from the game-installation plan. An installed game, a save file and a captured video are different assets. Keep track of which operation moves or removes each one, especially on a shared console with several accounts.
Our cloud sync versus backup guide explains why synchronising files should not be treated as proof of an independent recovery copy. Apply the same habit here: verify that important data has the protection you expect before making a storage change.
Plan the installation and first check
Use the official model-specific procedure for shutdown, disconnection, cover removal, mounting and reassembly. Work in good light and keep the small parts organised. If a cover or cooling assembly does not fit as documented, stop and resolve the mismatch. Forcing parts together is not a useful compatibility test.
After the console is fully reassembled, follow its setup prompts. Then move one game first and check that it launches from the intended location. Confirm its saved progress is available before moving the rest of the library. This smaller first step makes an unexpected result easier to investigate.
Keep a note of the installed drive model and the date, along with the receipt and warranty information. If a problem appears later, these details help distinguish the storage configuration from unrelated changes such as a game update or network interruption. Use official support instructions for troubleshooting.
Choose a useful upgrade for your gaming routine
Compare final local prices, return terms and manufacturer support rather than a converted headline discount from another country. Include cooling if required. The lowest drive-only price may not be the lowest complete compatible purchase, and a short return window can matter when you cannot install immediately.
If a new release is the reason for making space, our GTA 6 release-time guide covers a separate launch-planning question. Confirm current game information through official channels, then return to the storage audit. The best upgrade is the one that gives your actual library the access you want, with a verified fit and a clear plan for existing data.