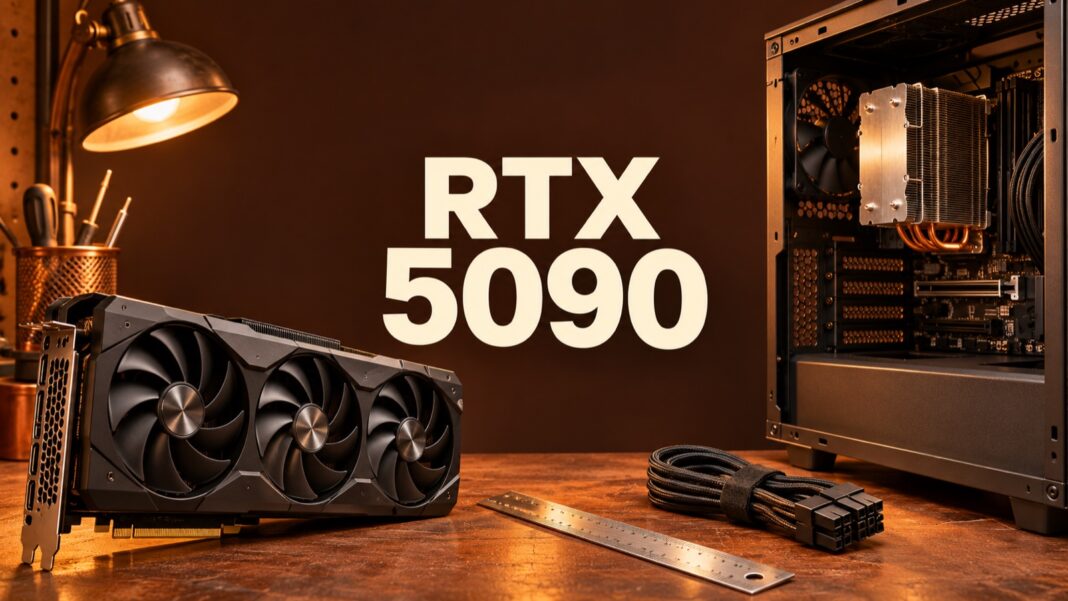

An RTX 5090 compatibility check should start with your computer, not a frame-rate chart. Before choosing an ASUS or another partner card, establish whether the exact model fits your case, has an appropriate power supply and supports the applications you use. A flagship GPU is an expensive way to discover a clearance problem.
This guide explains how to build that check for a creative workstation or gaming PC. It uses manufacturer specifications and practical planning examples. It does not claim hands-on testing, a universal performance uplift or that every RTX 5090 model shares the same physical design.
RTX 5090 compatibility starts with the full card name
“RTX 5090” identifies a GPU family, but the manufacturer’s full product name identifies the card you must accommodate. Cooler size, board layout, display outputs and installation requirements can differ. Save the exact model and revision from the retailer, then match them to the manufacturer’s specification and installation guide.
For a concrete example, the ASUS ROG Astral RTX 5090 specification lists dimensions of 357.6 × 149.3 × 76mm, a 3.8-slot design, one 16-pin power connector and a recommended 1000W PSU. Those figures describe that model. They should not be copied onto another ASUS variant or a different brand’s card.
Keep a comparison sheet with columns for the exact model, dimensions, slot occupancy, connector requirements, manufacturer power recommendation and local warranty. This makes it harder for a tempting discount to hide a different product. Treat missing specifications as unanswered questions rather than assuming they match the better-documented model.
Measure the case in three dimensions
Length is only the first measurement. Check the usable distance from the expansion-slot bracket to any front fan, radiator, drive cage or other obstruction. Then examine card height and side-panel clearance, including the space required for the power connection according to the card and cable manufacturer’s instructions.
Thickness affects expansion slots, airflow and access to nearby components. A card may technically enter the case while obstructing another installed device or sitting too close to a solid surface. Read the case manual and inspect your actual configuration. Published maximum clearances may assume a different fan or radiator arrangement.
Consider a hypothetical case advertised with 360mm GPU clearance. A 357.6mm card leaves only 2.4mm against that stated limit, before checking the case’s assumptions and installation path. This arithmetic is not an endorsement of the fit. It shows why a nearly equal pair of numbers deserves a closer physical and documentation check.
Review the power supply as a complete system
NVIDIA’s RTX 5090 specification table lists 575W total graphics power and 1000W required system power for its reference configuration. It also says requirements depend on system configuration and partner-card specifications can vary. A system recommendation is different from the GPU’s own power figure.
Write down the PSU’s exact model, rated output, available manufacturer-approved cables, age and the rest of the computer’s components. Compare that setup with the GPU vendor’s instructions. Do not decide that a PSU is suitable merely because its advertised wattage matches one number in a general article.
Use only cables approved for the specific PSU and follow the installation instructions for the card and connector. Modular cables from another PSU can look compatible without sharing the same wiring. If the required connection or cable routing is unclear, ask the PSU or GPU manufacturer before installation.
Separate VRAM capacity from application performance
NVIDIA specifies 32GB of GDDR7 memory for the RTX 5090. That describes memory capacity and type; it does not establish how quickly your particular application finishes a job. A large scene, local model or high-resolution project may benefit from memory headroom, while another task is primarily limited by CPU performance, system RAM or storage.
Start with a reproducible example from your own work. Record the application version, project size, export settings and where the current machine slows down. Look for evidence that the task uses GPU acceleration and that the software supports the intended hardware. Avoid comparing two results produced with different settings and presenting the difference as a GPU-only improvement.
For broader workstation planning, read our ASUS ProArt guide for creators. It provides context for evaluating the computer around the graphics card. The useful question is whether the whole configuration serves your work, rather than whether one component has the most impressive specification.
Check drivers, operating system and essential software
Before buying, review the application vendor’s supported operating systems, GPU requirements and known issues. Include plug-ins, render engines, capture tools and peripherals in that review. A supported main application does not automatically establish that every extension in an older production setup will behave correctly.
NVIDIA lists both Game Ready and Studio drivers on the RTX 5090 page. Choose a supported driver path for your actual applications and check the relevant release notes. Keep a record of the version that works. Changing drivers, application versions and project settings simultaneously makes a later fault harder to diagnose.
Plan the first test around a copy of a real project. Open it, navigate the demanding section, render or export with documented settings, then inspect the output. Keep the original project and a recovery route available. A stable work session tells you more about suitability than the fact that the desktop successfully appeared.
Match the monitor connection to the complete display path
Check the exact card’s available outputs against the monitor inputs, resolution, refresh rate and any dock, adapter or switch between them. The ASUS model cited above lists both HDMI and DisplayPort outputs. A connector fitting physically does not prove every requested display mode works across the entire chain.
For design work, include colour management, readable text and your normal viewing conditions in the decision. Our OLED versus IPS comparison explains why panel behaviour and everyday use deserve attention alongside graphics performance. A stronger GPU will not correct an unsuitable display setup by itself.
If you use multiple screens, write down the intended arrangement before purchasing cables. Include the exact model of each monitor and the ports you plan to use. This gives the manufacturer’s support team a concrete configuration to assess instead of a vague question about whether “dual monitors” are supported.
Budget for the upgrade, not only the card
Add any necessary PSU, case, cooling, cables and installation cost to the purchase price. Compare offers within the same country and check taxes, return terms and seller support. A low international listing can become poor value once shipping, service and the practical consequences of returning a large component are included.
Also identify what you would postpone to fund the GPU. If you still lack a suitable input device, our drawing-tablet guide may be a more relevant next step for your workflow. A balanced workstation budget follows the task you need to complete.
Buy when the exact card passes the physical, electrical and software checks and the workload justifies the total cost. Keep those checks with the purchase records. They become a useful installation checklist and a clear starting point if the new configuration needs troubleshooting.